6.3. Presets
Presets Edit Mode allows you to quickly hear the effects of different Algorithm Presets on the currently loaded Program.
Press the Presets Button to enter Presets Edit Mode. Press again to toggle the selection between Presets A and B.
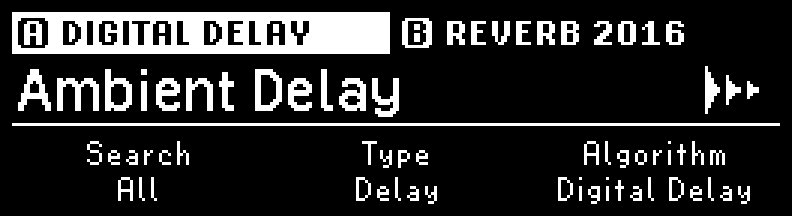
Fig. 6.21 Preset Edit Mode displaying Preset A
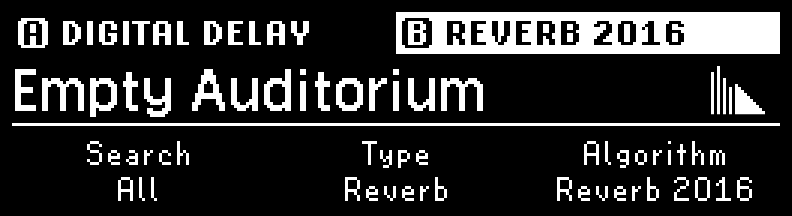
Fig. 6.22 Preset Edit Mode displaying Preset B
The three Quick Knobs can be used to filter the List of Presets:
Quick Knob 1 selects the List through which to search. This includes both Factory Lists and User Lists, and also narrows down the other two Quick Knobs’ filters.
Quick Knob 2 selects the Effect Type for which to search.
Quick Knob 3 selects the Algorithm filter.
Turn the Select Knob to scroll through the filtered List, which auto-loads each Preset into the selected A or B slot for quick auditioning. The original Preset will remain in the List regardless of the filters, until you save the Program.
Press the P LED Button to activate/bypass the Program. Press the A or B LED Button to activate/bypass each Preset within the Program.
Press any Footswitch to exit Presets Edit Mode.
6.3.1. Saving Presets
Press and hold the Presets Button to save a Preset.
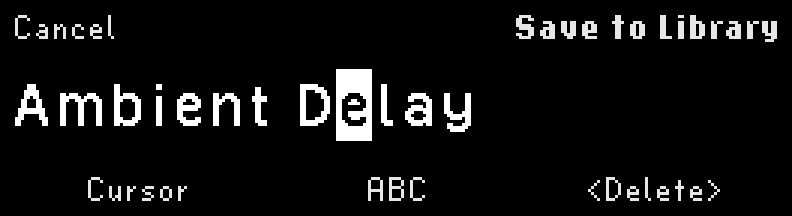
Fig. 6.23 Preset save display
Renaming Presets works the same way as renaming Programs.
Move the cursor by turning the Select Knob or Quick Knob 1. Pressing Quick Knob 1 moves the cursor to the right.
Select the character by turning the Perform Knob or Quick Knob 2. Pressing Quick Knob 2 cycles the character set through lowercase, uppercase, numbers, and symbols.
Delete a character by pressing Quick Knob 3.
Press the Perform Knob to save your preset to the Preset Library, which can be searched through in Presets Edit Mode.
Press the Select Knob to cancel.
If a preset already exists with the name you have chosen, you will be prompted to overwrite the existing preset.
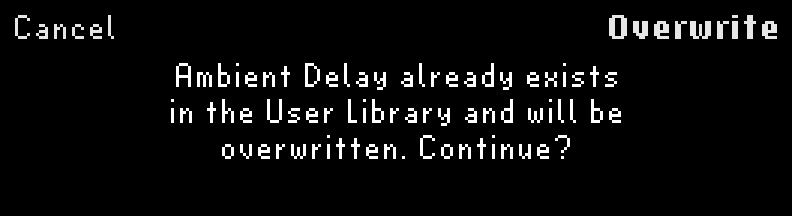
Fig. 6.24 Existing preset prompt
Note
Factory Presets must be renamed and saved as a new User Preset to the Library.