5.8. Scenes
Long press the front panel Tap/Scenes button to bring up the SCENES screen.
Scenes are used to control sequenced program changes in the H9000. This mode can be useful when you are using the H9000 in a live environment such as a concert or theatrical production, and wish to “step through” different pre-configured states in an order you have set up in advance.
For example, the main vocalist in a concert may need different reverb parameters at different times during the show; scenes provide a quick, simple way to achieve this:
You can create multiple “Scene Maps” and select one at any given time
A Scene Map is a collection of Scenes, along with the Trigger Sources
Each Scene Map can contain a total of 128 Scenes
A Scene itself can be thought of as a particular state of the FX chains, running under a current session
The “Scene” denotes a set of actions to be triggered that put the H9000 into that particular state, either an:
FX chain or algorithm preset to be loaded into a destination container
A mute/bypass/enable action to be applied to a destination container
5.8.1. Working with Scenes
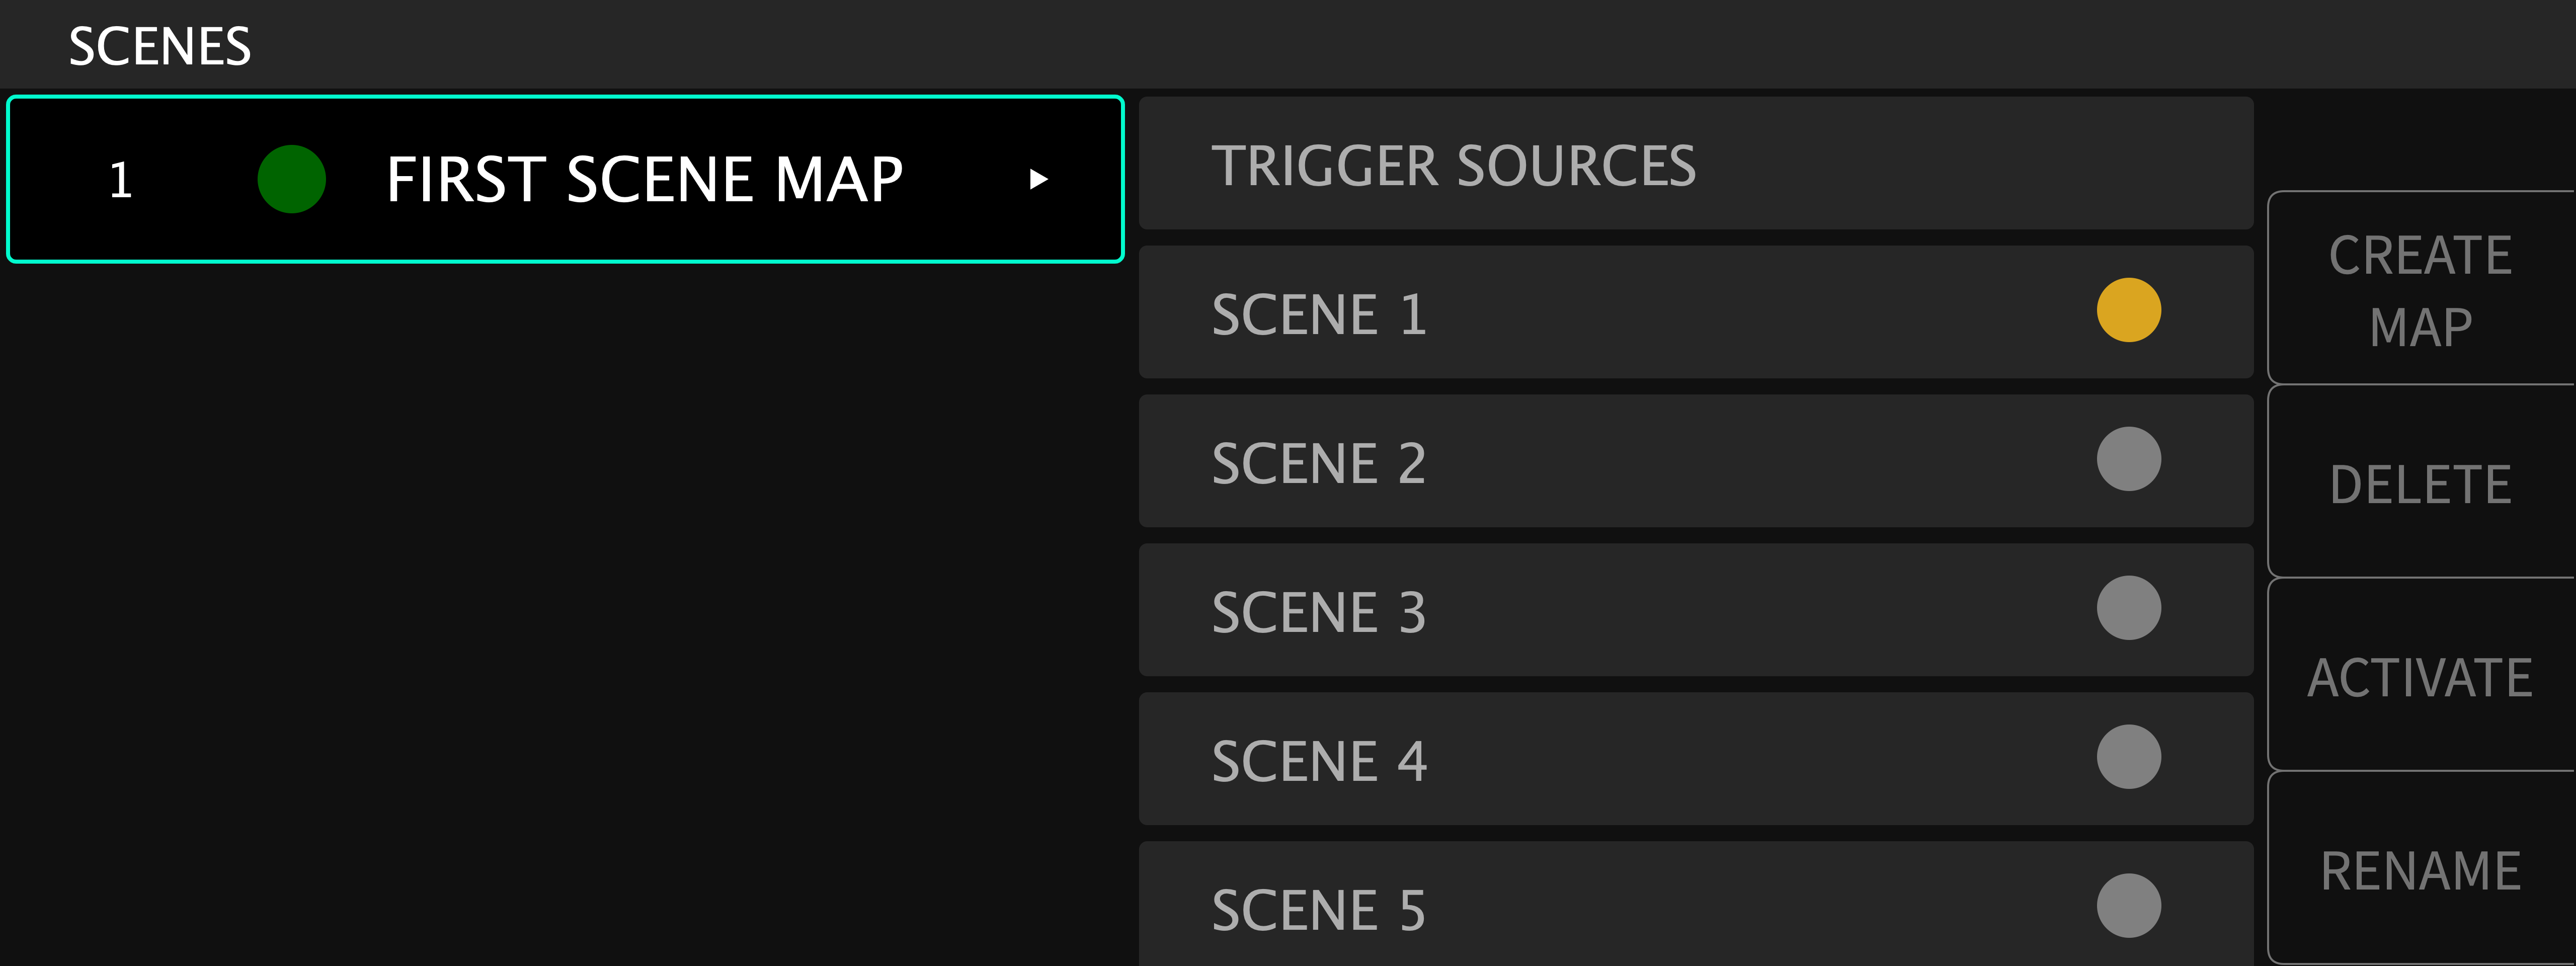
The right side of the screen displays the 128 available scenes, while the left side of the screen displays a list of Scenes Maps you have created. When entering SCENES mode, the following soft keys are available for Scene Maps:
- Create Map
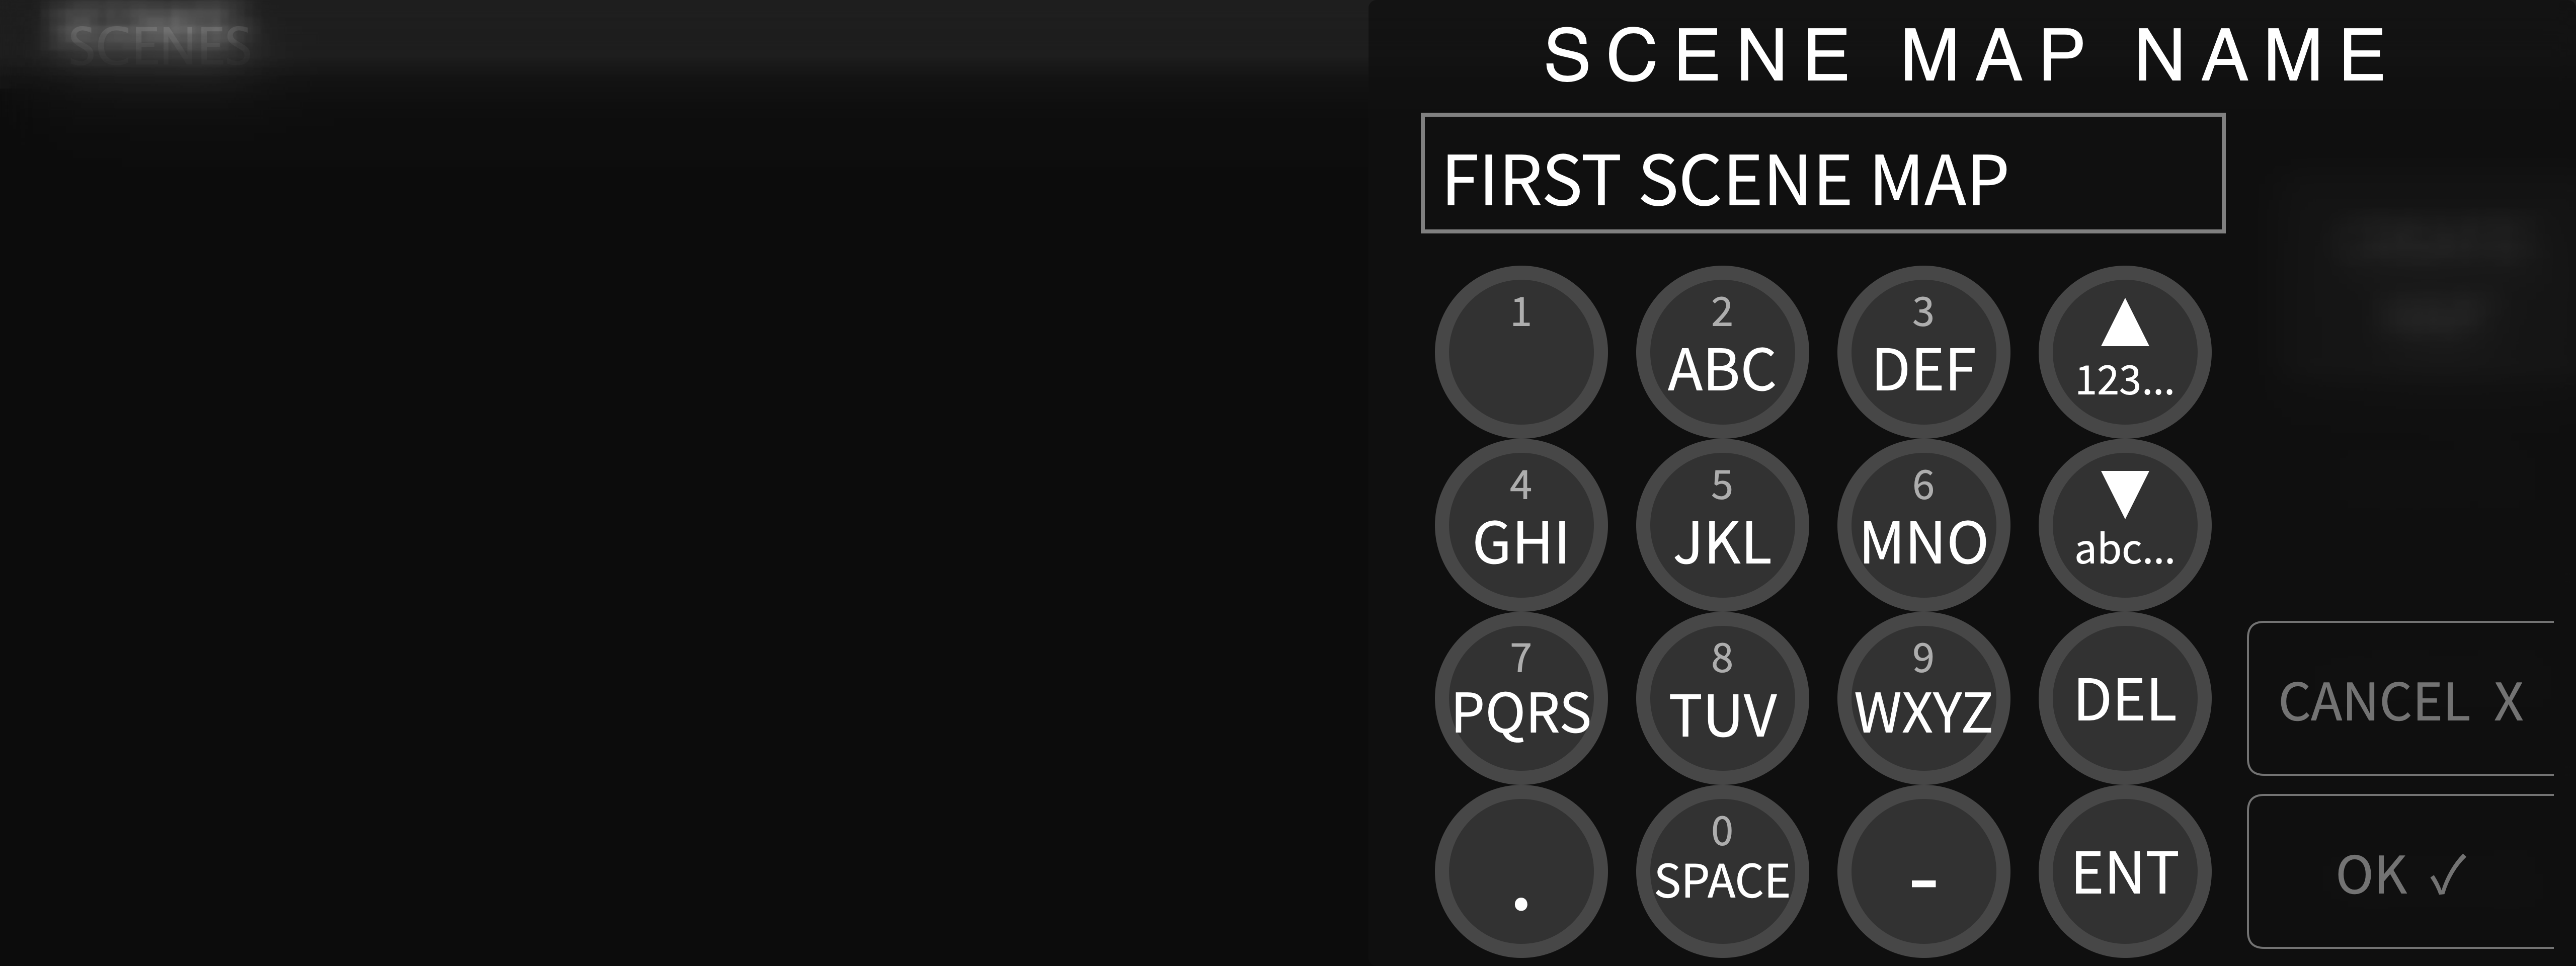
Press this soft key to create a new Scene Map. You will be prompted to name the Scene Map, at which point it will be added to the list of created Scene Maps on the left.
- Delete
Press this soft key to delete the highlighted scene.
- Activate
Press this soft key to activate the highlighted Scene Map. Once a Scene Map is activated, a green circle will appear to the left of its text, indicating that it will now respond to MIDI messages.
To de-activate a Scene Map, press the Activate soft key while highlighting the currently active Scene Map. The circle to the right of its text will turn red, indicating that it is not active and won’t respond MIDI messages. Alternatively, you can activate a different Scene Map.
Note
Only one Scene Map can be active at any given time. When a Scene map is not active it will ignore all MIDI messages.
- Rename
Press this soft key to rename the highlighted Scene Map.
5.8.2. Scene Maps
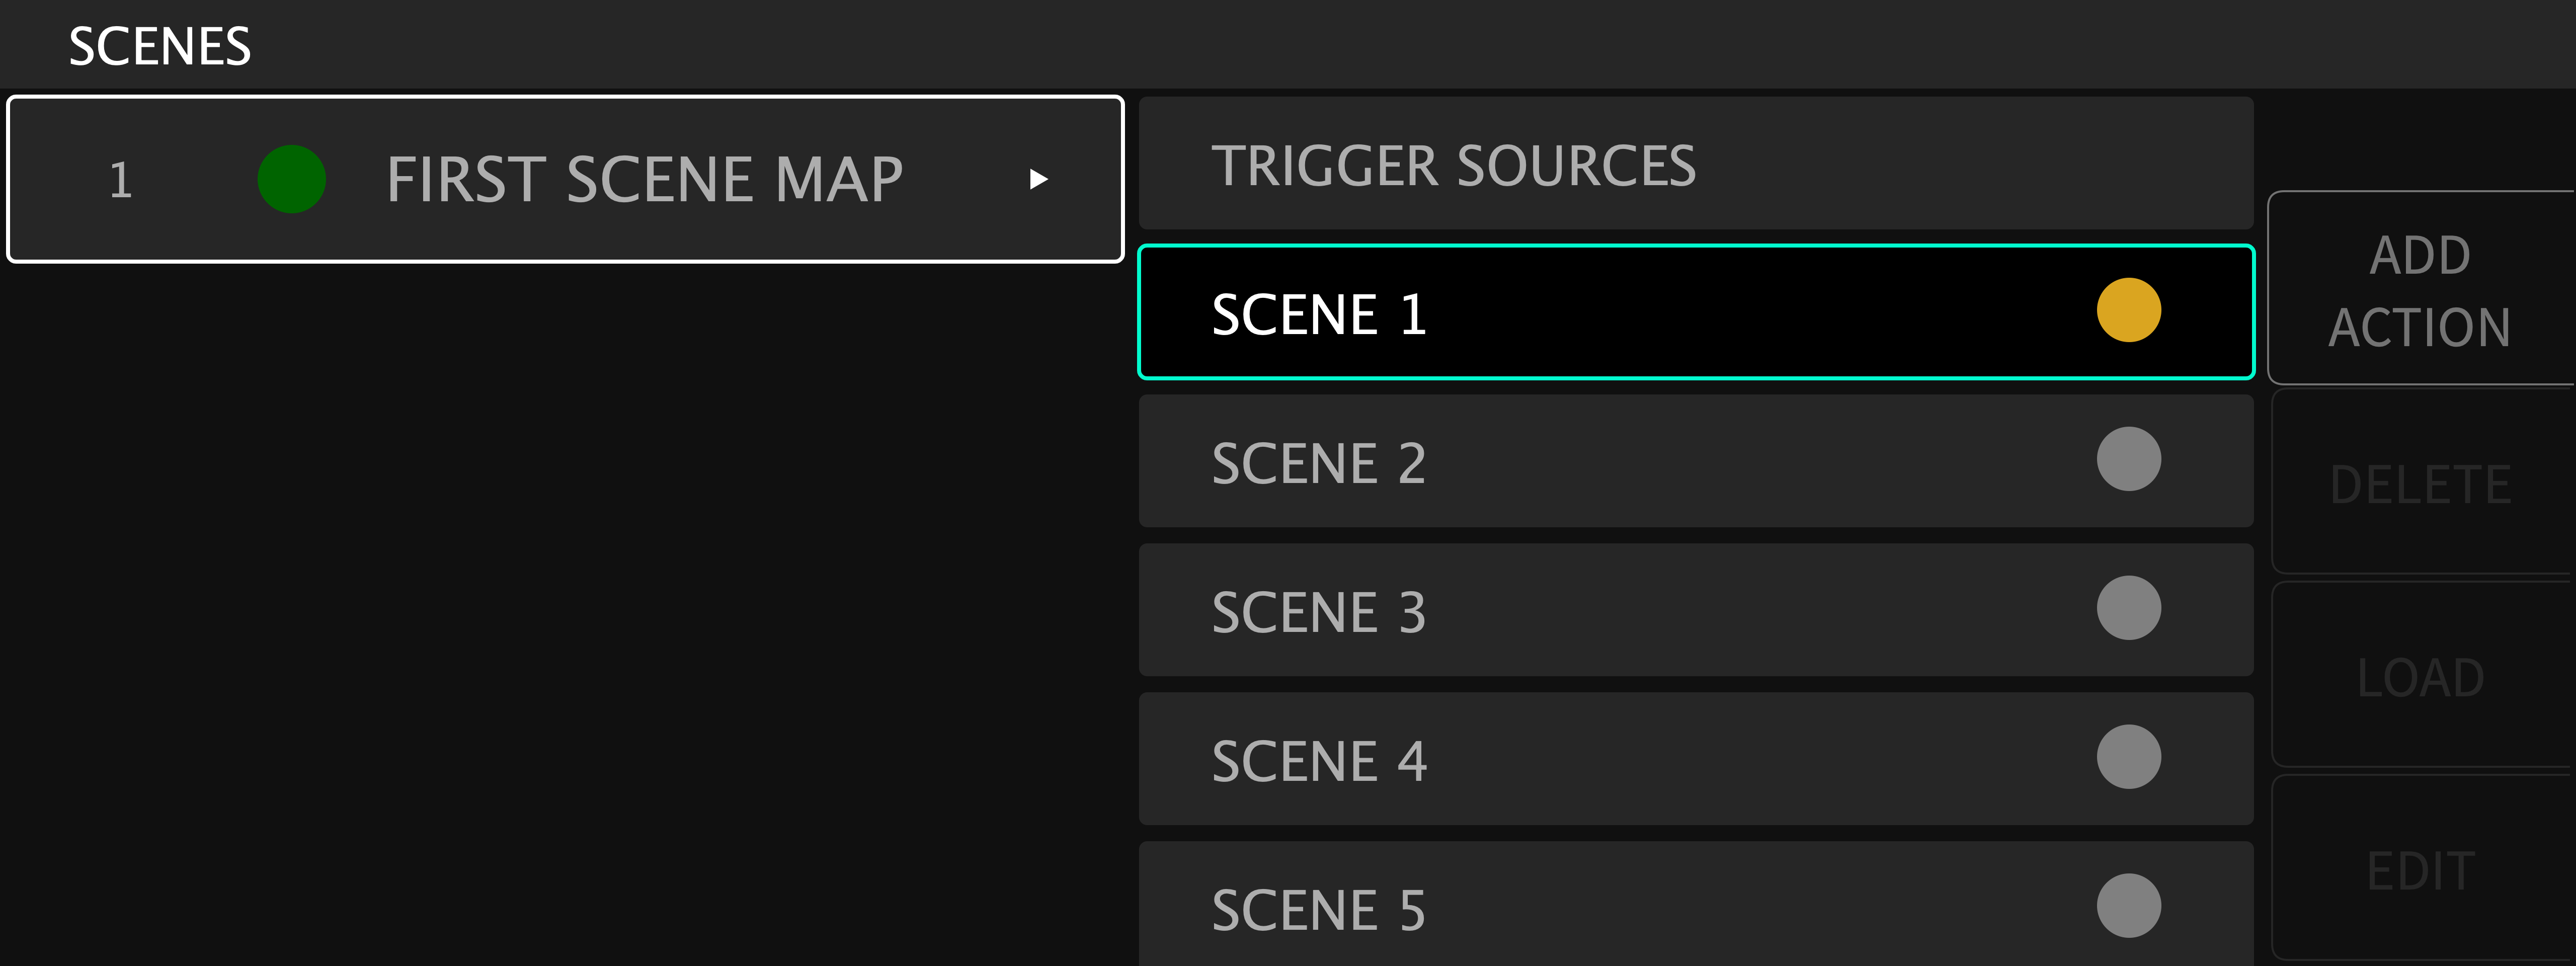
Once a Map is activated, the following soft keys are available for its contained scenes:
- Add Action
Highlight a scene on the right-hand side, and press the Add Action soft key. You will be presented with the choices of:
Scene Capture
Manual
- Scene Capture
This is a way to take a “Snapshot” of the current settings of the Session for a Scene.
- Manual
This allows you to create a Scene from a blank template.
- Delete
Press this soft key to delete a highlighted scene.
- Load
Press this soft key to activate the highlighted scene. The circle to the right of the scene text will turn GREEN, indicating that this scene is now active.
- Edit
Press this soft key to edit the highlighted scene. You will have the options to edit with either the Scene Capture or Manual functions.
5.8.3. Trigger Sources
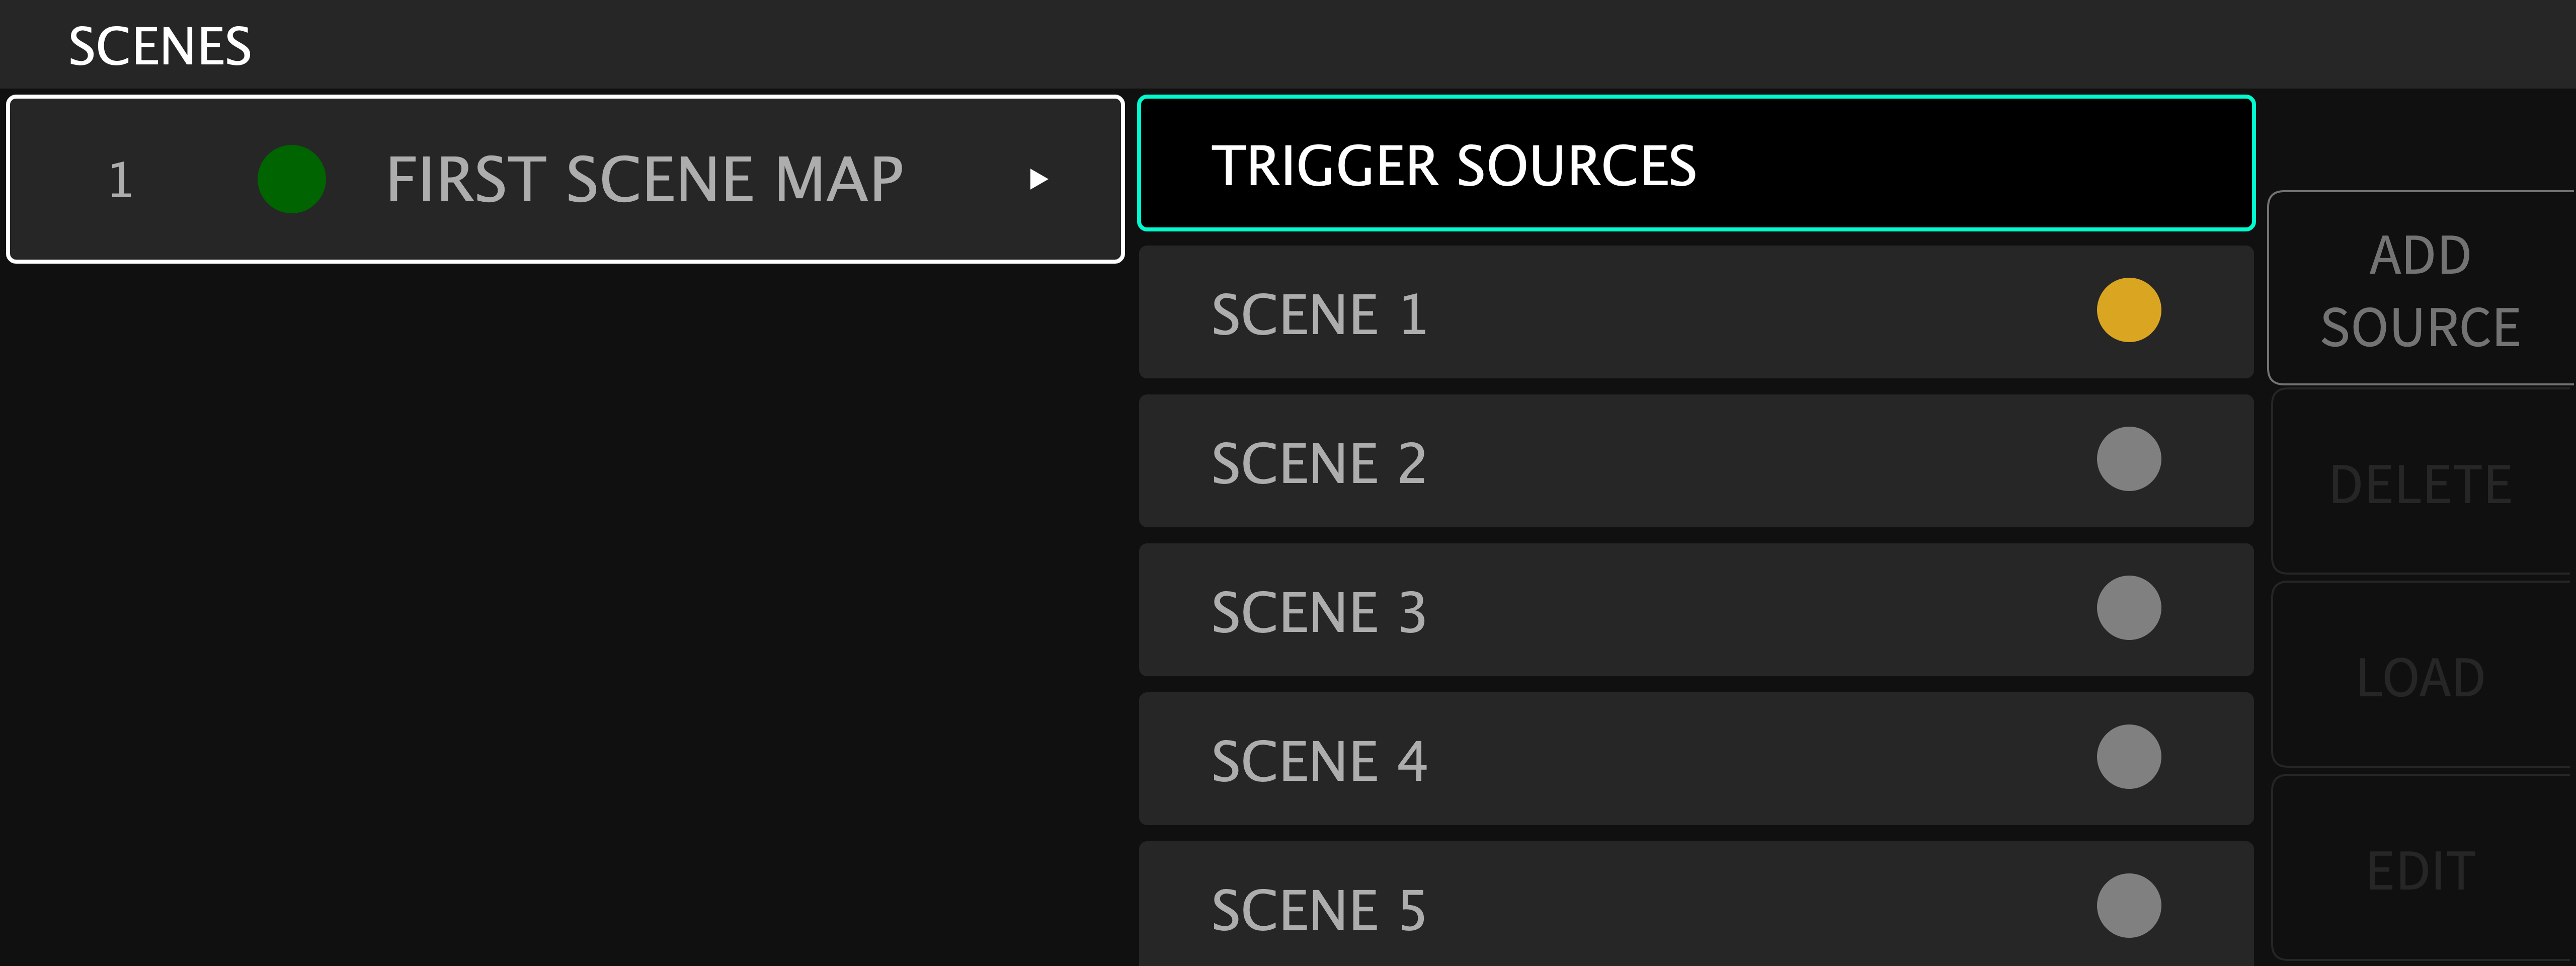
At the top of the Scene Map list on the right-hand side, you’ll see the “Trigger Sources” tab. Highlight this tab, then press the Add Source soft key. You will be prompted to select a source mode, message type, and MIDI channel.
Select Source Mode: You are presented with the source mode options of:
Load by number
Increment
Increment and load
Decrement
Decrement and load
Load current
Select Message Type: Use the cursor up/down keys or wheel to select an option from the above list, then press the Enter key. You will then be presented with the option to trigger the action using:
Program change
Note on
CC (MIDI Continuous Controller)
Aux switch
Select MIDI channel: Use the cursor up/down keys or wheel to select an option from the above list, then press the Enter key. You may then choose from which MIDI channel to receive messages.
5.8.3.1. Trigger Source Options
A “Trigger Source” allows assignment of actions, such as loading a Scene by number, or incrementing/decrementing. You can control Scene changes from the front panel, using Emote, or an external control source such as a MIDI controller or Aux Switch.
Scenes can be triggered in the following ways:
- Load By Number
Load By Number works like a traditional program change message; it will load whatever Scene matches the number of the program change message you send, between 0 and 127. Although it usually makes sense to use actual MIDI Program Changes, you can also use Note On or Continuous Controller triggers.
- Increment/Decrement
Increment/Decrement switches to the next or previous scene, but keeps it in a pending state. When a scene is in a pending state, the circle to the right of its text will be yellow.
- Load Current
Loads a scene from its pending state after being selected with the above mentioned “Increment/Decrement” function. When a scene is loaded from a pending state, the circle to the right of the text will become green, indicating the scene has been loaded.
- Increment & Load/Decrement & Load
Switches to the next or previous scene and then loads it immediately. If your scenes are sequenced in the order to be used, it’s probably easier to use the Increment & Load/Decrement & Load options. However, if you need to jump around or skip Scenes, you can use Increment/Decrement with the Load Current option.