5.2. Perform Mode
Press the Big Knob or Perform Button to enter Perform Mode.
Perform Mode allows you to customize the H9’s interface with two pages of customizable Footswitch assignments such as tap tempo, active/bypass, momentary active, two independent HotSwitches, and Algorithm-specific Performance Parameters.
The H9’s Algorithm-specific Performance Parameters can provide for a wealth of expressive and artistic tools, right at your feet!
Wormhole’s Warp parameter takes you on a light speed journey through the Universe.
Bouquet Delay’s Pitch Jump allows you to bounce between precise musical intervals with an analog flavor.
Prism Shift lets you Freeze your signal, or momentarily change your pitch-shifted intervals.
Head Space allows you to Boil or Break your tape echo and create unheard-of sounds.
Furthermore, the two onboard HotSwitches allow you to map a range of parameters within a Preset, it’s like getting two Presets for the price of one!
5.2.1. HotKnob
The HotKnob is a special onboard control source that can be used to map multiple parameters to a single knob.
In Perform Mode, you can use the Big Knob to adjust the HotKnob.
See HotKnob Mapping for details on how to map parameters to the HotKnob.
Tip
All of the Presets in the User 1 list have useful HotKnob mappings, and the HotKnob will be mapped to the expression pedal by default. To get a sense of how the HotKnob works, try browsing the User 1 list in Select or Bank mode.
5.2.2. Performance Parameters
In Perform Mode, any of the General Footswitch assignments (such as Active/Bypass or Tap Tempo) or Algorithm-specific Performance Parameters (such as Wormhole’s “Warp” parameter) can be mapped to either the Left or Right Footswitch.
Press and hold the Big Knob or Perform button to toggle between two pages of performance parameter Footswitch assignments.
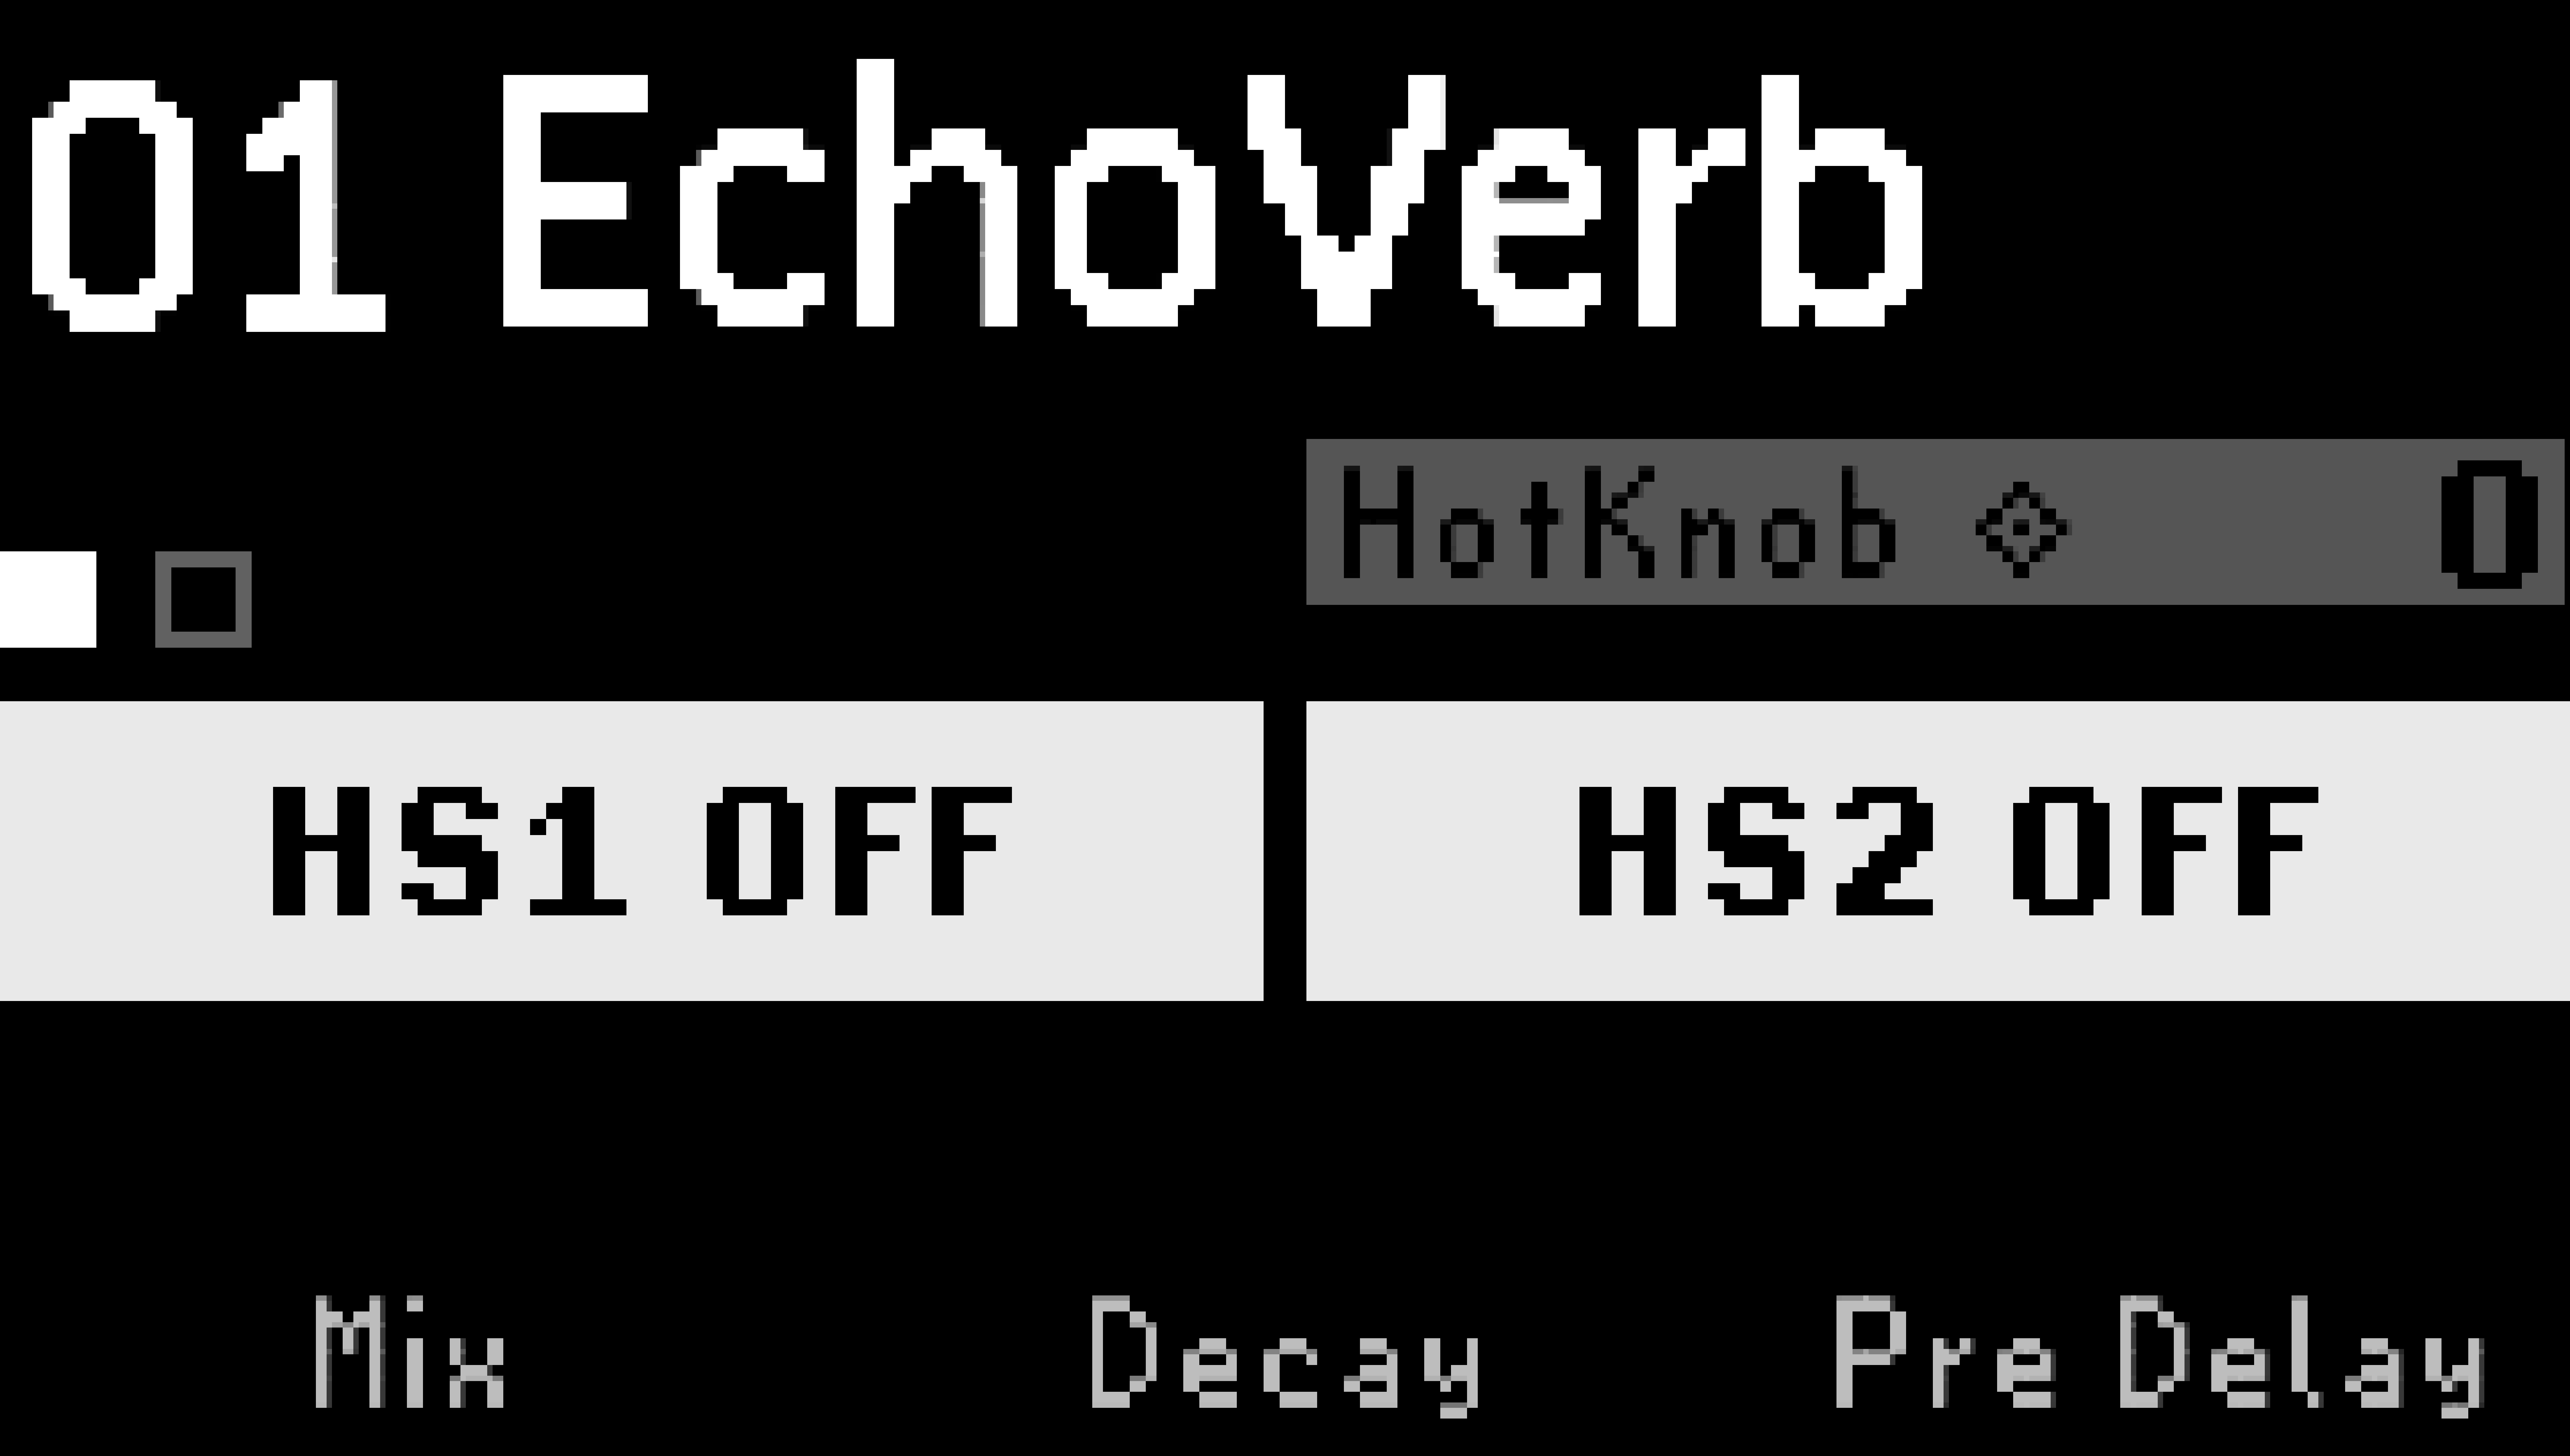
Fig. 5.3 Page one of the Performance Parameter mappings.
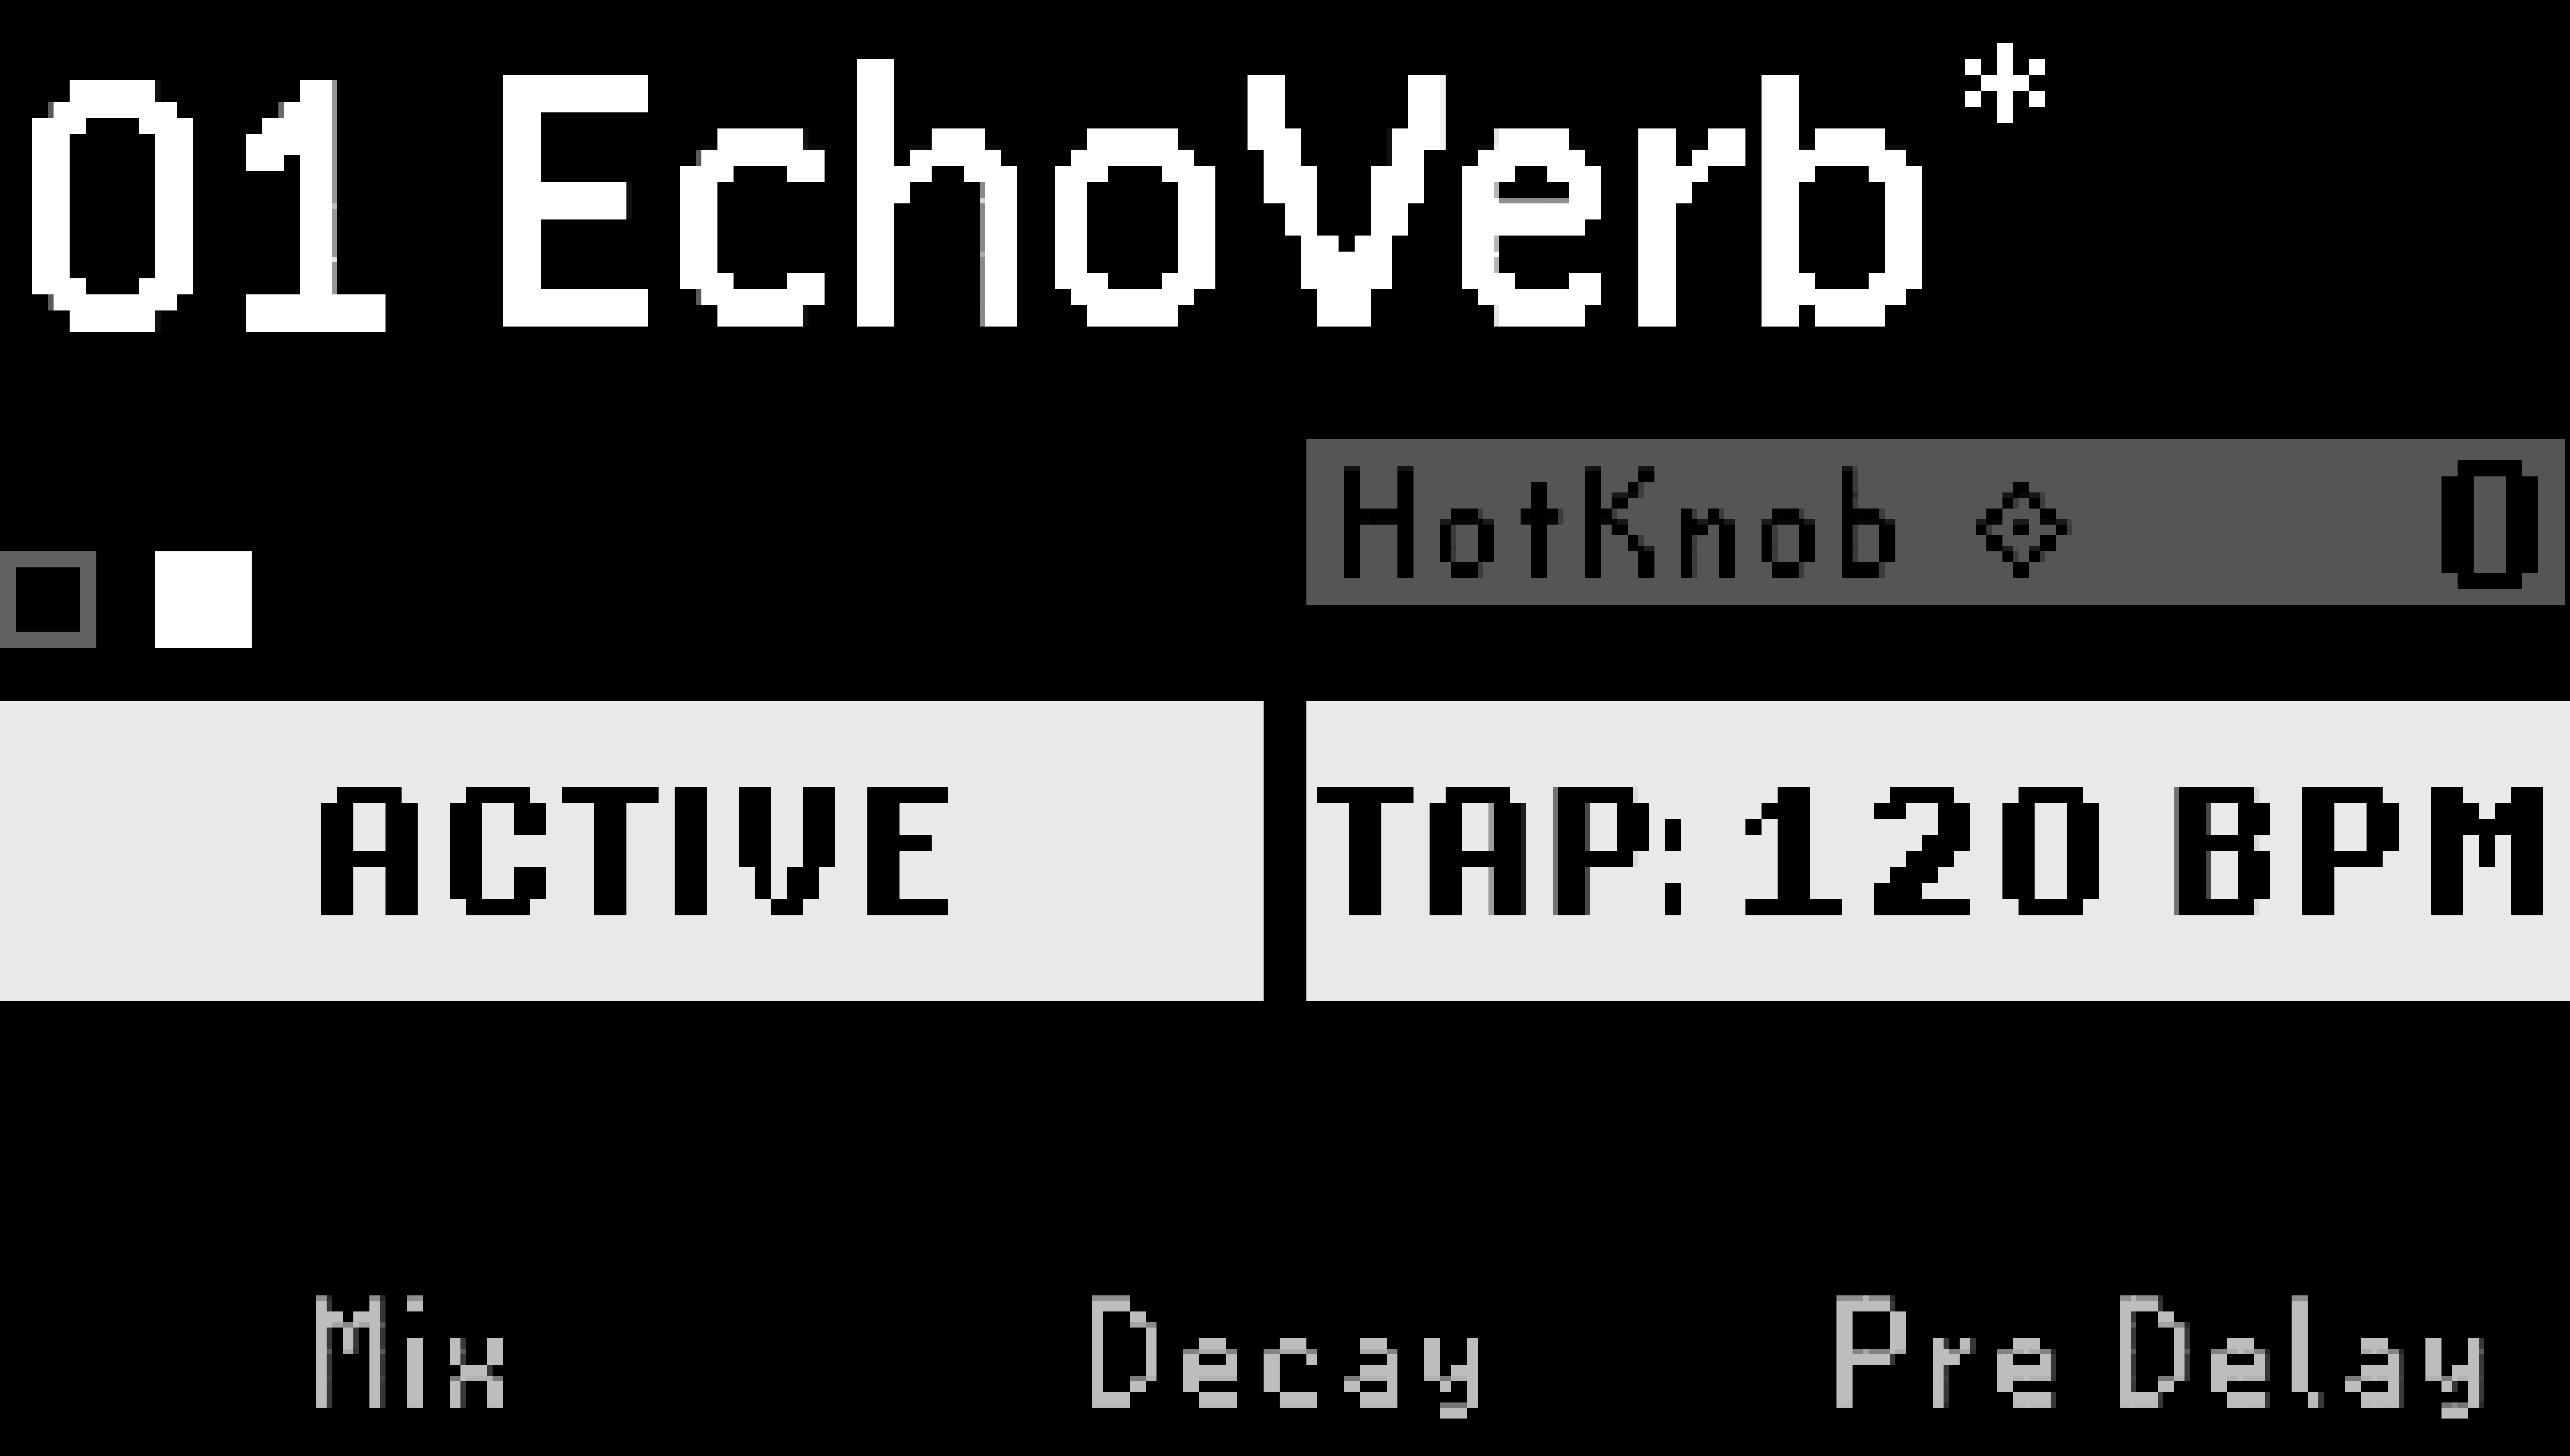
Fig. 5.4 Page two of the Performance Parameter mappings.
5.2.2.1. Assign to Footswitches
Press the Left or Right LED Button to cycle through the available Performance Parameters. These will vary depending on what Preset is currently loaded. Options include momentary states denoted by the (M), Tap Tempo, HotSwitch, or the algorithm-specific Performance Parameters.
Each Footswitch’s LED changes color depending on what parameter is assigned. Note that the colors play a role in these assignments:
A White LED indicates the Preset active state.
An Aqua color indicates a HotSwitch.
Blue indicates a delay parameter, such as Tap Tempo, repeat or feedback oscillation.
Red indicates a pitch shifting parameter, such as the Flex parameter for PitchFlex.
Green indicates a modulation parameter, such as an LFO Brake/Speed or Retrigger.
5.2.2.2. Map to External Controllers
You may find that you’ll want more than just four footswitches to control the variety of Performance Parameters offered by a given Preset. For instance, you may want to always control the Active/Bypass state of your Preset using the H9’s onboard footswitches and control the HotSwitches and algorithm-specific Performance Parameters from another source. This can be accomplished by mapping these parameters to an external controller.
Press and hold the Left or Right LED Button to begin mapping the Performance Parameters to an Aux Switch or MIDI CC message.
Turn Quick Knob 1 to select a parameter.
Turn Quick Knob 2 to select a control source for that parameter.
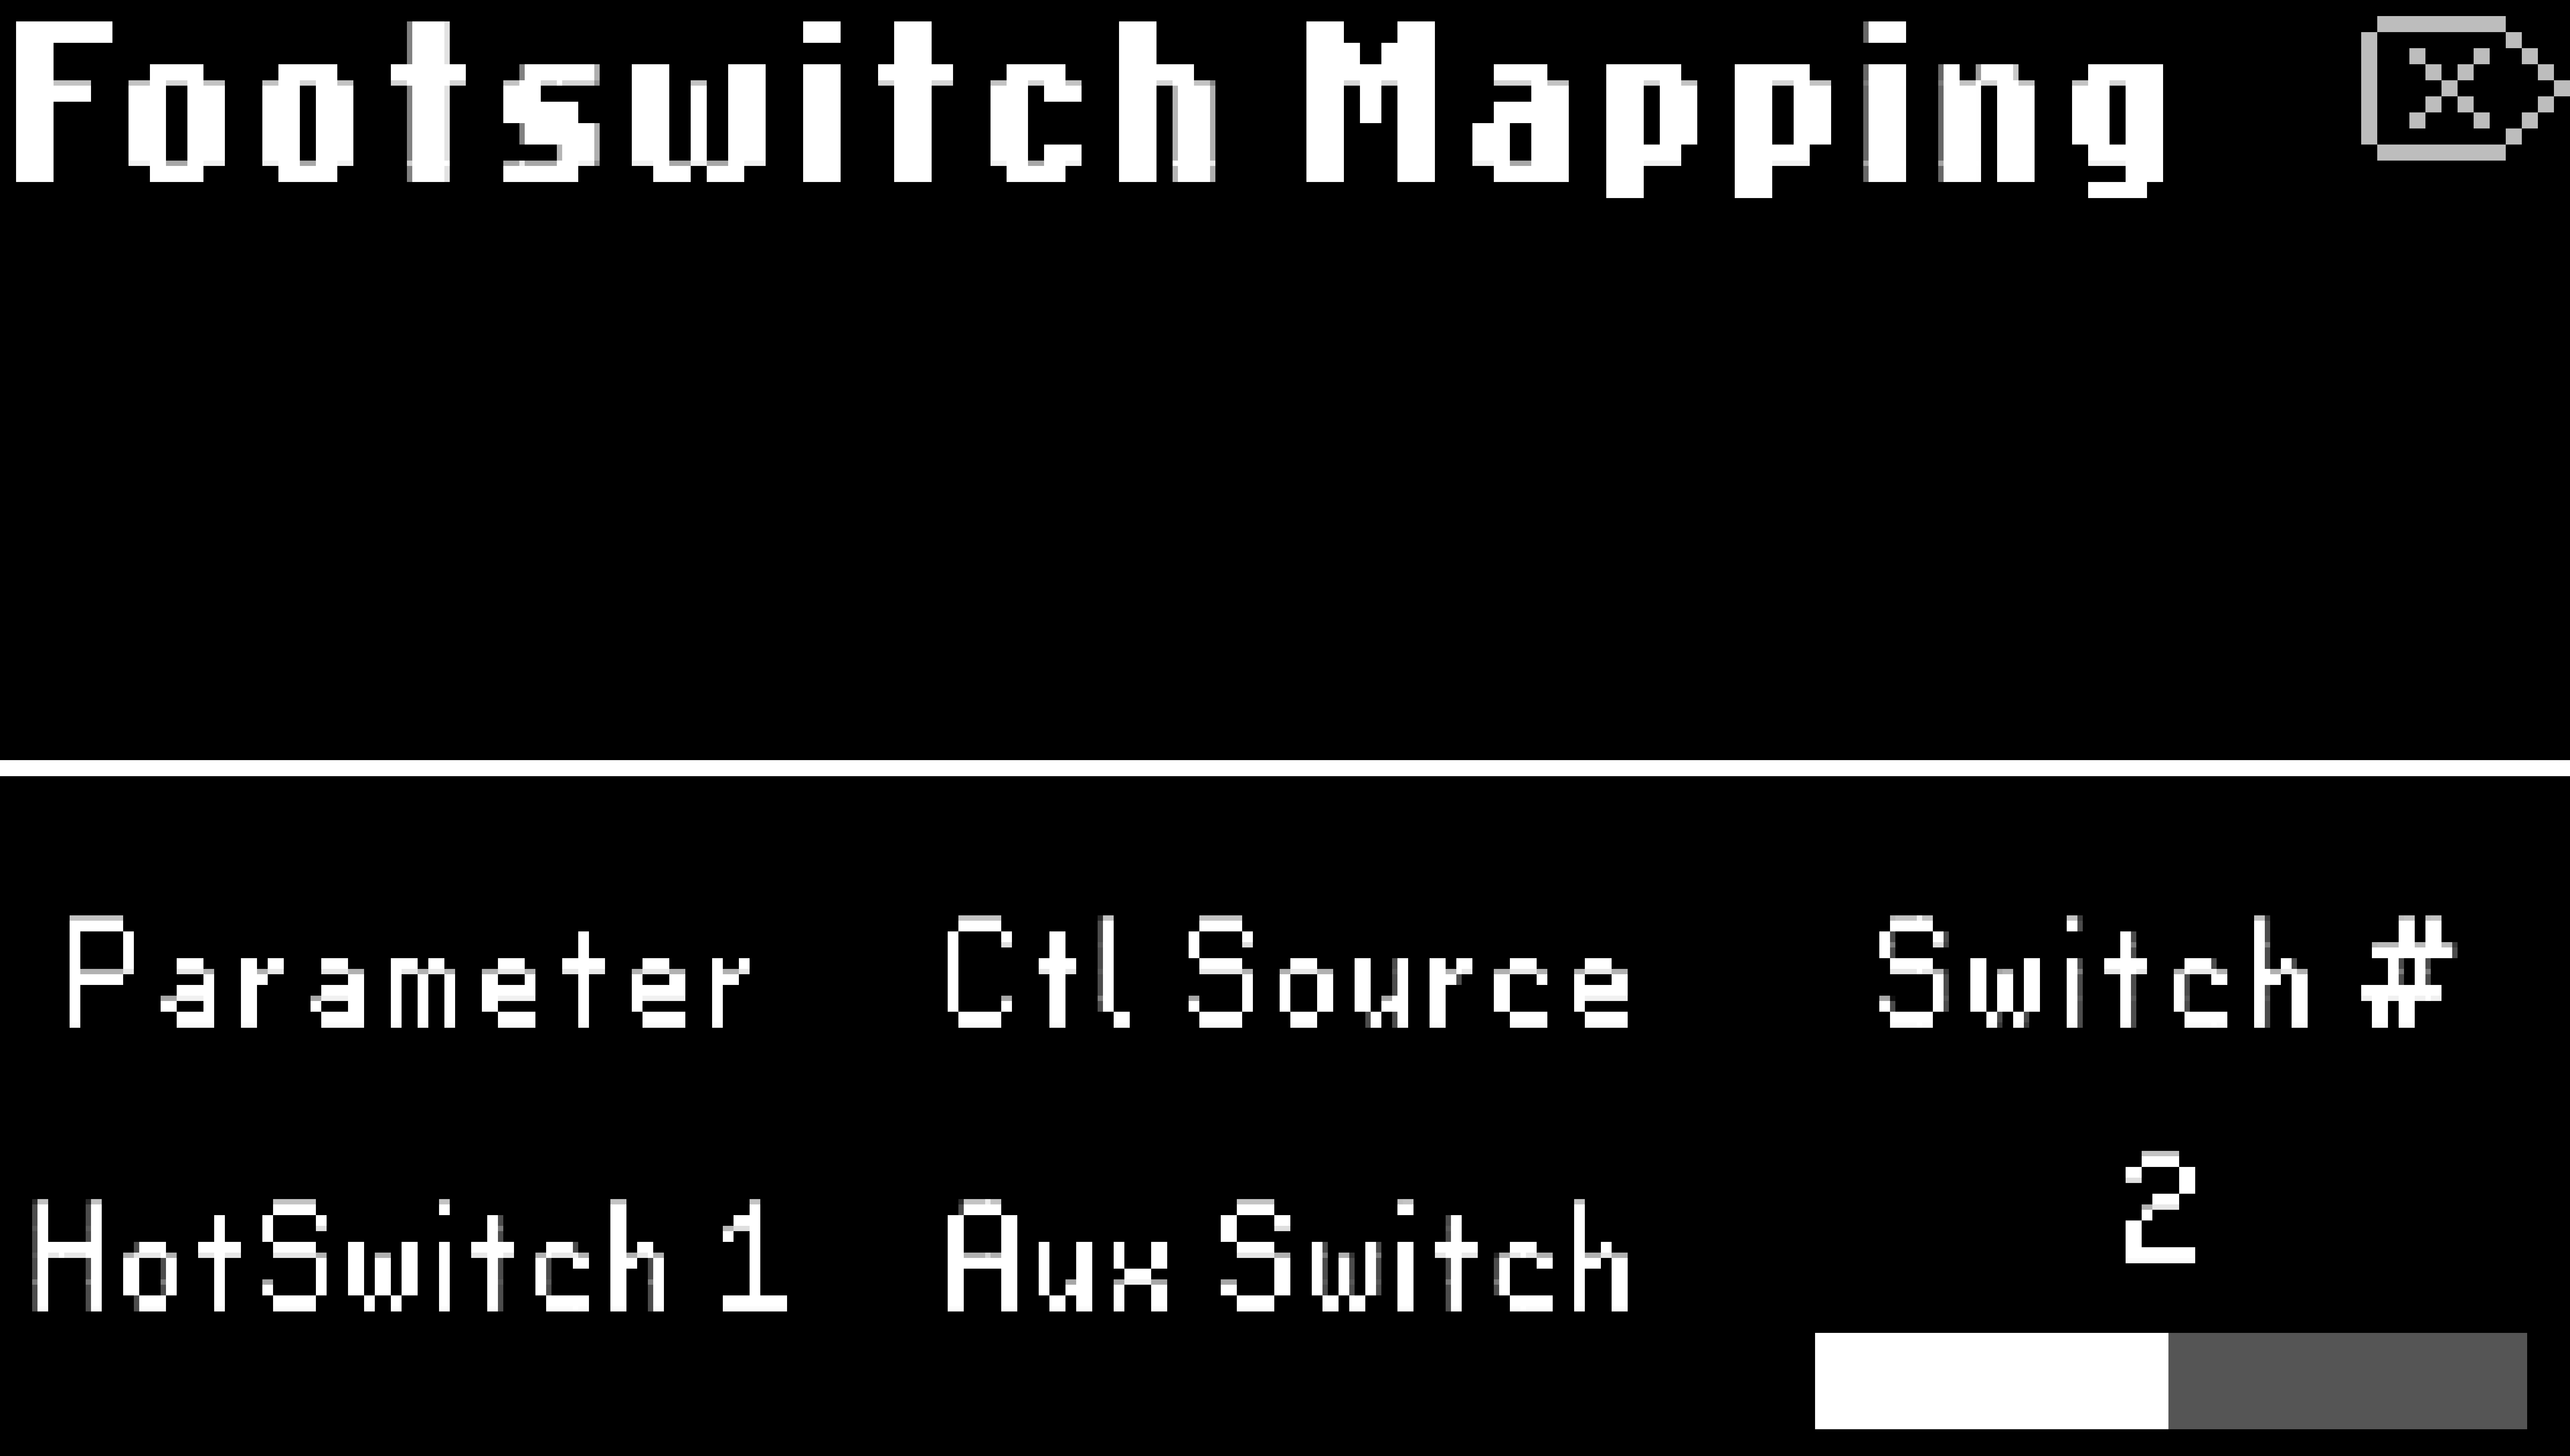
Fig. 5.5 Performance Parameter mapping menu.
Tip
External Performance Parameter mappings can also be triggered in Select Mode.
Note
In order to use all of the H9’s latching/momentary/trigger footswitch functions, you must use either momentary normally open aux switches, or momentary MIDI CC footswitches that are 64 or higher when pressed, and 63 or below when released.
5.2.2.3. Tap Tempo
Tap Tempo on the H9 can work in two ways:
Tempo Sync: Press the Presets and Parameters buttons simultaneously to enable Tempo Sync for a Preset. The Preset’s time-based parameters, such as an LFO or delay time, will be displayed as rhythmic divisions of the H9’s tempo. The H9’s tempo can be adjusted from the Tempo Menu.
This allows you to keep your time-based effects in sync to the H9’s tempo. For example, you can specify a 1/4 note triplet delay time, change the H9’s tempo from 120 BPM to 160 BPM, and you will now have a 1/4 note triplet delay time at 160 BPM.
Tip
Tap Tempo is prohibited when Tempo Sync is enabled and the Tempo Source is set to MIDI clock.
Preset Tap Tempo: While Tempo Sync is not enabled, assign a Footswitch in the current Preset to “Tap”. When you tap this footswitch, the Preset’s time-based parameters will be adjusted in mS or Hz depending on the algorithm. The tapped value will be momentarily displayed next to the “Tap” label.
This allows you to tap in time-based values for your Preset without being synced to the H9’s tempo.